Monday, July 22, 2013

Polka Dress Refashion

I've been told I have too much time on my hands. This is probably true. Between my online course, college prep, and Etsy Shop, I managed to go thrifting and do another dress refashion.


Look at this. Just look at this. This marvelous vintage shoulder-padded wonder. It's beautiful.


I love the white polka dots on navy, and the shape of the waist that the darts make.


The shoulder pads are a little ridiculous, and it has a tie for the waist, but only in the back.

What a lovely housewife I make.
Anyway, I wanted to take off the lace on the collar, the shoulder pads, and the buttons right away. The buttons are really gorgeous, so I'm saving those to use on another project. The collar was tricky because the lace was sewn in, so I had to deconstruct most of the top and sew it back together.


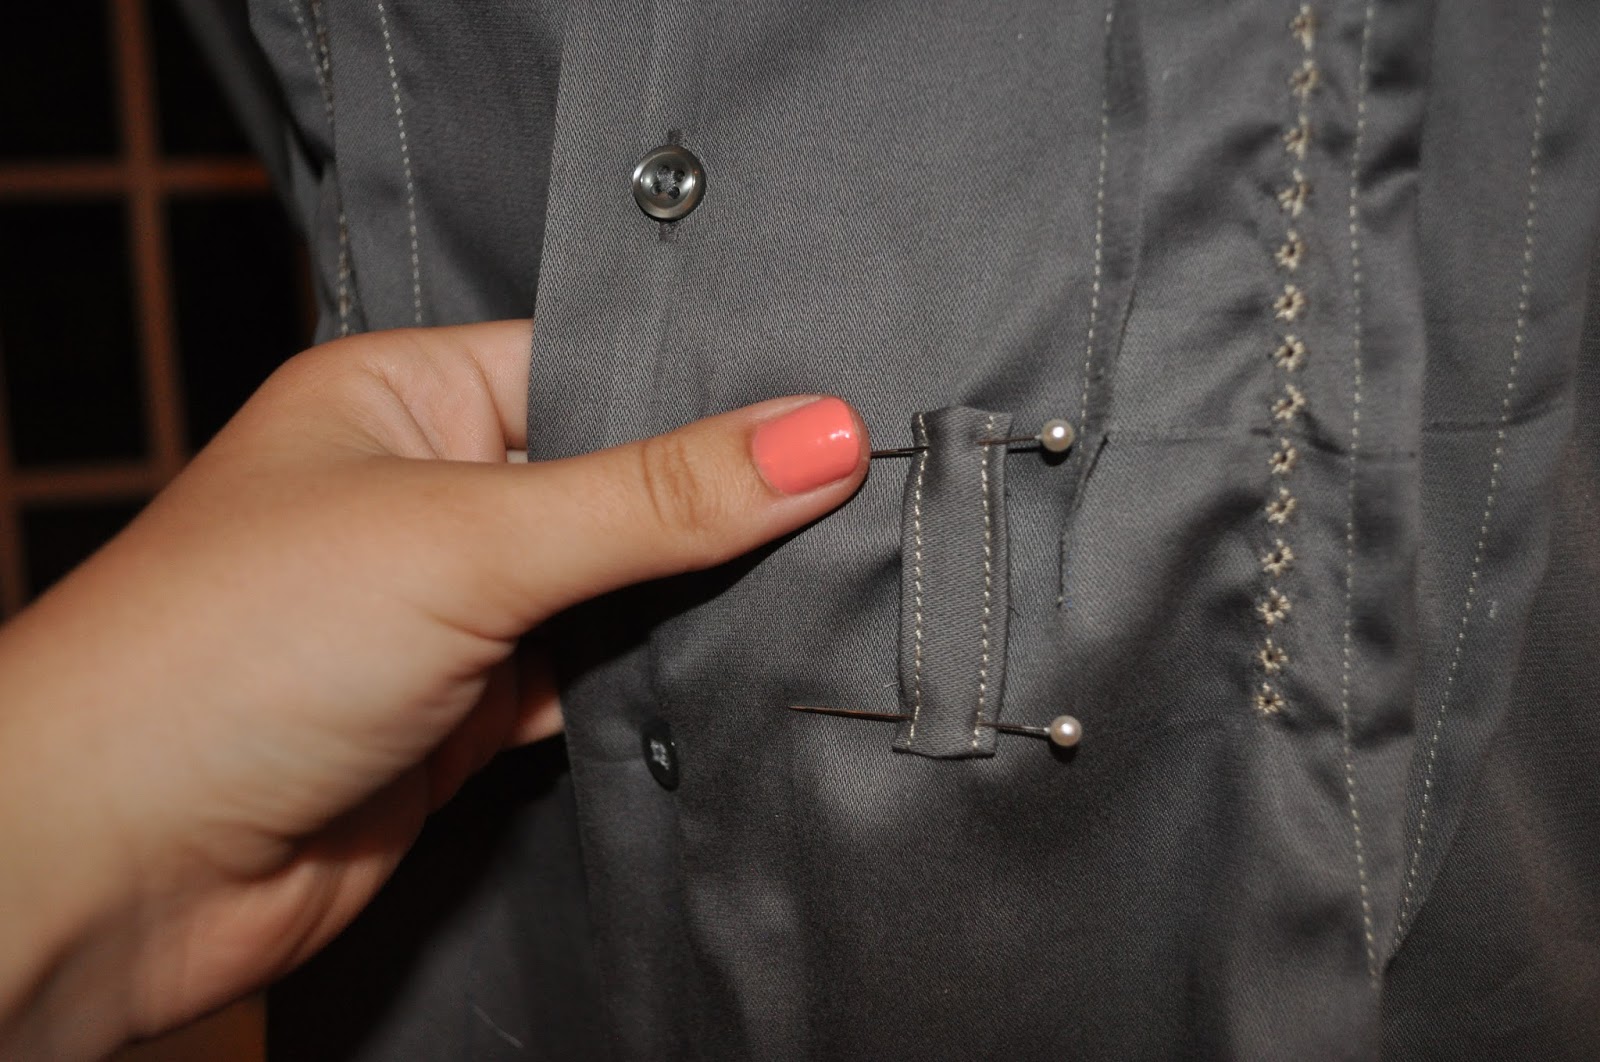
After I took off the buttons, I sewed the entire front of the dress shut, so the collar became more of a peter pan thing. At that point, it became impossible to fit it back on the mannequin (shoulder problems..) so I couldn't document everything I was doing with pictures because polka dots get really dizzying when they're just sitting in unformed fabric. Trust me on this. 
After closing up the front
Anyway, around that point I took off the sleeves. No real reason really, but I liked how it looked sleeveless, so it stayed that way. The vintage was hard to work with because it had so many stitched in layers of fabric and interfacing, so it took a lot of gumption to rip everything out. 

I cut open the back and put in a zipper.

New zipper and full belt

I hacked it off knee length and opened up the sides of the dress. I took out the old tie pieces and used extra fabric from the bottom to create a fuller skirt and a complete belt. 

Love the fuller skirt
I made little bows and sewed them on the front. It gives it a neat nautical vintage/modern look. Anyway. Voila!
Handmade little bows
In conclusion. I took off the sleeves, shoulder pads, buttons, and the bottom half of the dress. I sewed up the front, put a zipper in the back, made a fuller skirt with extra fabric, a complete belt to tie around the waist, and little bows for the front (if you want to know how to do that, here).

This was one of my more frustrating projects, but I love how it turned out. 


Moonsoaked

I can't quite fall asleep. The moon is too loud. I hear the ring of the reflected light, falling from the sky, leaking onto my bed, spilling off the edges of my sheets. I sit up and put out my hand, catching a bit of the glimmering silver, but when I pull away, I can't take it with me, and I have nothing but a handful of darkness.

Grabbing my pillow, I spin myself around, so I can sleep upside down. Now I can see the moon out the window, barely peeking above the trees. The moonlight pours over my face, and it's still too much, too loud. I switch positions again, but this time, I pull the sheet up from the foot of my bed with me.

It's been soaking in the moon for hours. The silver has seeped into its whiteness, and it glows in the dark room. It feels cooler, crisper, than it should be. It leaks a sort of magic now. This, I can wrap myself in, and fall asleep.

Tuesday, July 16, 2013

Shirt Refashion


I'm really obsessed with refashioning lately (for the record, this was inspired by linen remake tutorial). Oh well. Anyway, I got this men's shirt at a consignment store for three dollars. There's nothing wrong with it, it's just in a men's cut. And men's size. And is for men. And I'm not a man.


Deconstruction first. Collar, pocket, and sleeves.


Adding pin tucks

Hemming the sleeves


Embellishing. I'm in love with my machine.

Adding some belt loops

Voila! Isn't it just lovely? I'm super pleased with this one.


Dress Picture


Before and After dress refashion. 

Monday, July 8, 2013

Dress Refashion

ModCloth. SO CUTE!


So, as Liv and I were making our shorts, I had another project going on in the background. I'm a little bit in love with this dress from ModCloth, but wasn't totally in the mood to spend $60 on it.


I did, however, have a vintage romper I got a year or two ago at a thrift shop. I thought it was kinda cute, but never figured out how to make it look good, so it was just kinda sitting around.
Not as cute...

Anyway, first step was to make it a dress, so I cut out the crotch and redid the seams. I used a seamripper to take off the sleeves and cut off the buttons. 


Then I took the fabric from the sleeves and made some ruffles, and pinned the whole thing into place, taking in the sides a little as I went. 

I used a really loose stitch on the sleeve fabric and tugged the top thread out a bit to ruffle it, which is probably the best ruffling technique I've found. 


I kinda changed my mind at that point and decided it should look like it had straps, so I picked up the scissors again and then stitched it all back together. 


Shorts Refashion

So, this week, my marvelously creative friend Liv and I tackled some refashions. We (plus a third musketeer) tracked down a Goodwill nearby, and I really do mean "tracked down," because we got a little lost and used an iPhone GPS to play a nerve-racking game of Hot and Cold. Anyway, we managed to pick up some neat jeans, and inspired by this link, we decided to make some cut offs.

Looking super gorgeous
Utterly stunning

So, we scavenged up some fabric scraps and set about hacking off and cuffing the legs. 


Liv learned to use the sewing machine!


I made a makeshift stencil and added some fabric paint.


Great success!